Recently I got a Canon Pixma low-end USB printer which I wanted to connect to my network so that I can print without connecting the USB.
There is various hardware available on Amazon that can do that but since I had a Raspi available I set up a print server using PI. Here I’m using Raspberry Pi 3 B+ with Raspbian buster, Canon Pixma MG 2750S & Windows 10. The set-up is such that the PI is connected to the network using ethernet and the printer is connected to the Pi using a USB port.
I will start the process after raspberry OS is installed and running. First, we will assign a static IP to the Pi.
					#Update the dhcpcd.config file to assign static IP
$ sudo nano /etc/dhcpcd.conf
interface eth0
static ip_address=192.168.10.210/24
static routers=192.168.10.1
static domain_name_servers=192.168.10.5 192.168.10.4
# save the file using control+x and chose option y
# Restart the Pi for IP changes to take effect
$ sudo reboot
We will check if Common Unix Print System (CUPS) is installed. By default, it is already installed on Raspbian Buster.
					$ apt list cups
# If not installed we will install it
$ sudo apt-get update
$ sudo apt-get install cups
# Next give pi user admin rights to cups
$ sudo usermod -a -G lpadmin pi
# Allow access to the web interface from the network.
$ sudo cupsctl --remote-any
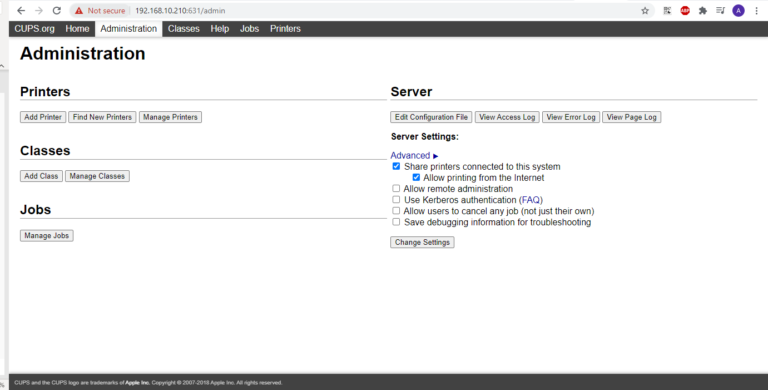
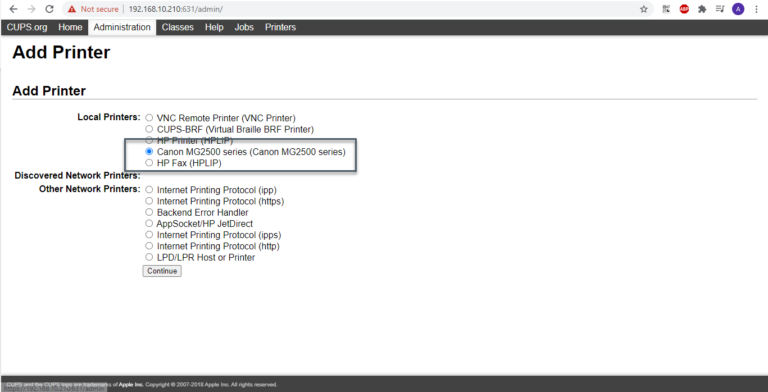
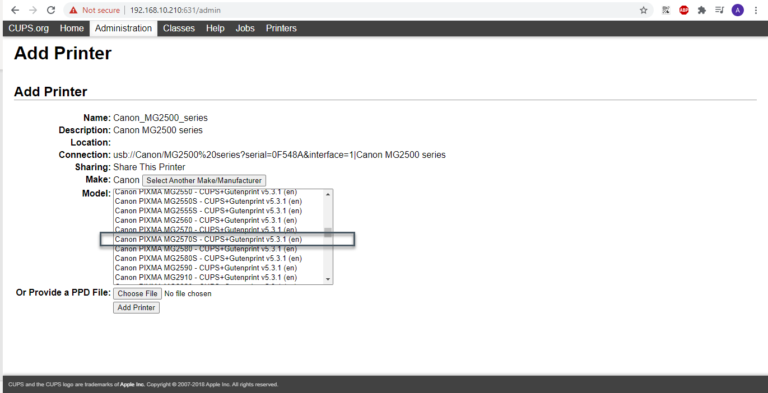
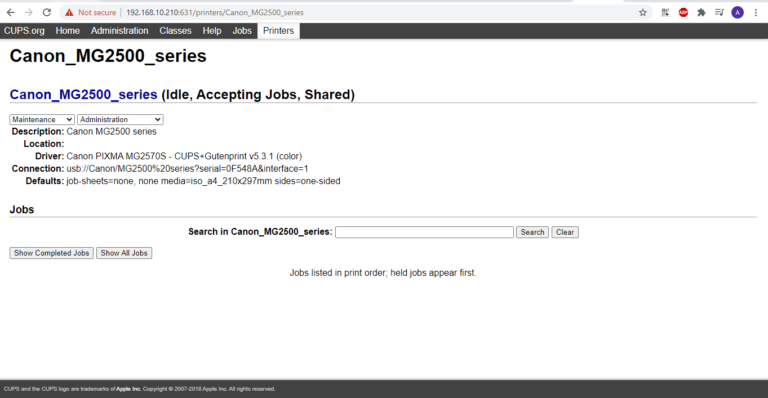
Next, we open a browser and navigate to the IP address on port 631, in this case, https://192.168.10.210:631 and add printer under administration. There will be a login prompt, provide the username and password. All USB printers will show up under local printers, follow the set-up step.
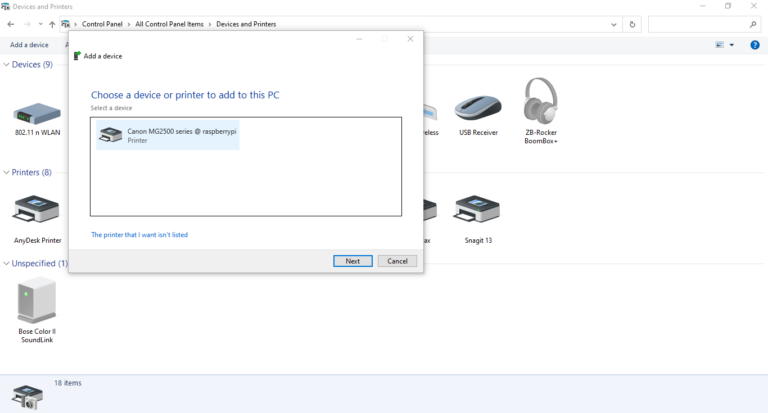
Lastly, we will try to add the printer to a Windows computer and it should show up and complete the set-up process
- KB170087


