There can be a situation when you want to set-up a VPN at home and you have a dynamic public IP address. In such cases, every time the IP changes you need to know it and make changes in DNS config if you are using a hostname. In such cases, the easiest way is to configure a dynamic DNS. Here we are using noip.com but other available services will also work. Please note that this will not work if you are behind a Carrier-grade NAT (CGNAT) where you have been assigned a private IP in the ranges – 100.64.0.0/10.
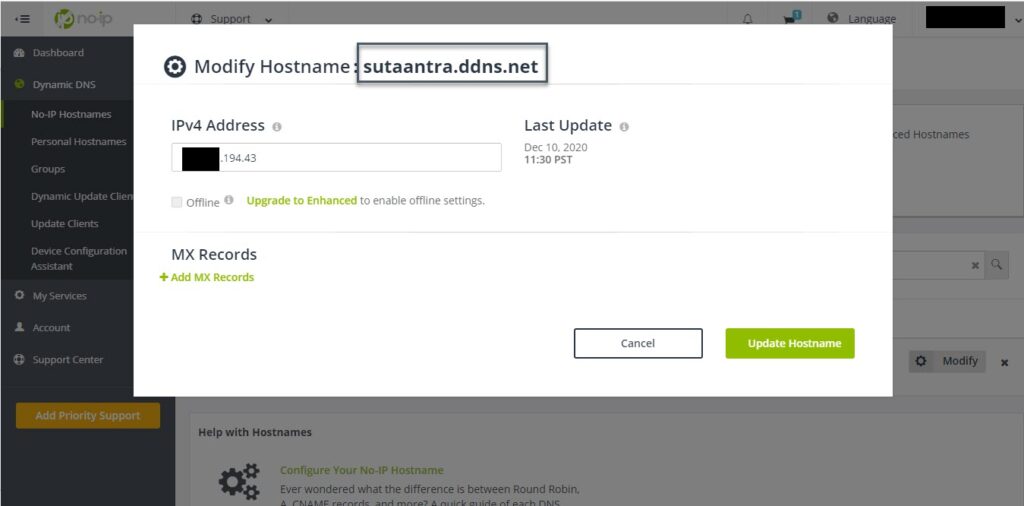
1. Create a hostname in noip.com, in this case, we have created sutaantra.ddns.net. The free version of no-ip.com expires every month so we have to recreate it each time it expires. You can also use https://duckdns.org.
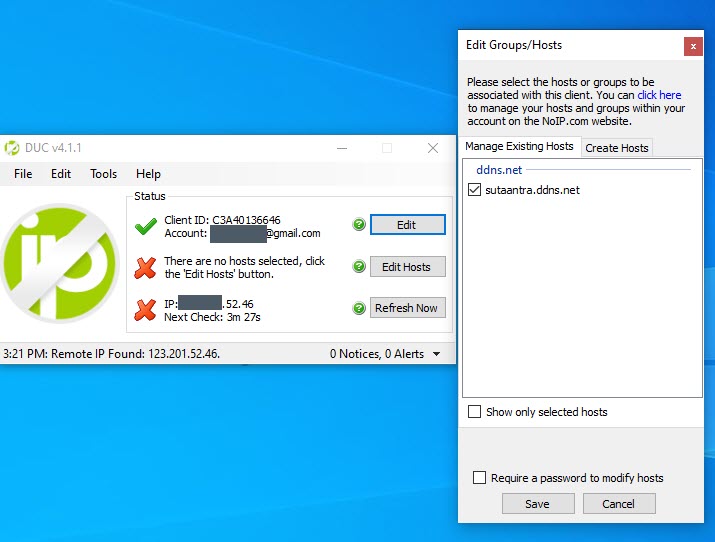
2. Next, we have to install Dynamic DNS Update Client (DUC) on a machine so that whenever there is a change in the public IP it is updated in no-ip.com. It can be downloaded here – https://www.noip.com/download?page=win, This application is available in Windows only. During installation chose the default option which will install it as a service.
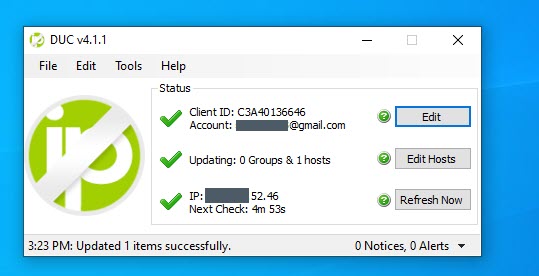
3. Once the installation is complete login with No-IP credentials and selects the host.
- KB170065


